· Ebenthal Vital
Three steps to cleaning your enema kit properly
Wash, disinfect, dry: how to look after your enema kit properly so that it lasts.

An enema kit that is not cared for properly can become a breeding ground for bacteria and mould. Regular, thorough cleaning and drying extends the life of your kit – and is easy to build into your routine.
Step 1: Take the kit apart and wash it
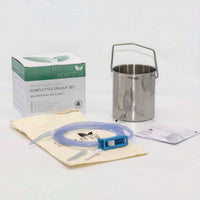
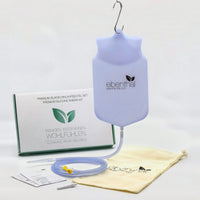
- Take the kit apart as far as possible: remove the hose from the bag or container, open the clamp or stopcock and unscrew the tip from the hose.
- Prepare hot soapy water and wash all the parts thoroughly. Then rinse with clean water.
Step 2: Disinfect with hydrogen peroxide
- Put the kit back together and fill it with two cups of 3% hydrogen peroxide.
- Let some liquid run through the hose and tip, then close the clamp so that the hose stays filled.
- Leave the solution for about 2.5 hours.
- Then pour the solution into the toilet and rinse the whole kit thoroughly with water so that no residue remains.
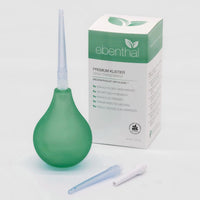
- It is best to place the tips in a small bowl of hot water with a few tablespoons of hydrogen peroxide – for about 8 hours or overnight.
How often you disinfect depends on how often you use the kit: if you use it rarely, before putting it away; if you use it often, about every second or third time – provided you clean it thoroughly with soap and water each time.
Step 3: Dry it well
- Remove the silicone hose and hang it up in an airy place out of direct sunlight until no more liquid is visible.
- It is quicker if you briefly swing the hose like a lasso or use a hairdryer on a low to medium setting.
- Dry the bag or container with a paper towel and then let it finish drying in the air.
- Only put all the parts back in the storage bag once they are completely dry.
Questions? Write to us at hallo@ebenthal-vital.com.
This content is for general information only and does not replace medical advice.